Processing ZIP Files |

|

|

|
|
Processing ZIP Files |
|
|

|
Processing ZIP Files |
|
|
|
|
Processing ZIP Files |
|
|
|
|
|
||
Job orders can be placed that are ZIP files. When you receive the job order you will not know that it is a ZIP file until the order is downloaded. When a ZIP file is downloaded the icon changes to ![]() . You need to process the ZIP file before it can be printed.
. You need to process the ZIP file before it can be printed.
To process a ZIP file:
| 1. | View the list of orders. The job order has been downloaded and the icon shows that it is a ZIP file.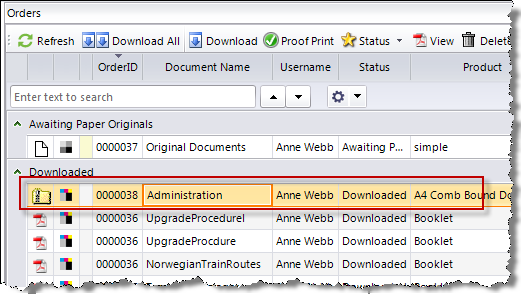 |
| 2. | The method of extraction will depend on your version of windows and computer setup. The process explained is a guideline on what to expect. |
| 1. | Double click the ZIP icon to extract the files. |
| 2. | Click Extract all files.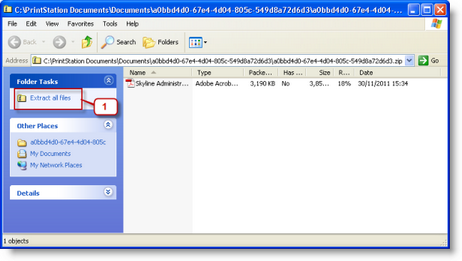 |
| 3. | The Welcome to the Compressed (zipped) Folders Extraction Wizard window opens. Click Next to continue. |
| 4. | The Extraction Wizard window opens. Select a folder to extract the file into. Click Next to continue.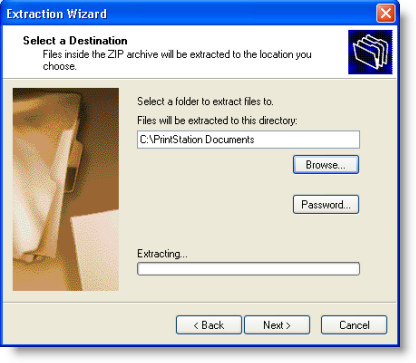 |
| 5. | The Extraction Complete window opens. Click Finish.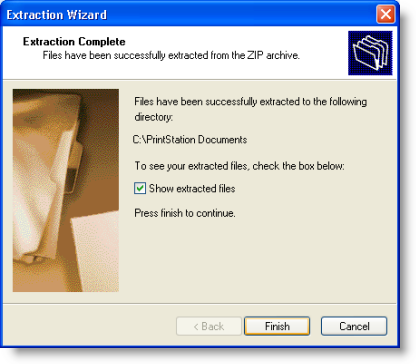 |
| 3. | The contents of the zip file have been extracted to the location you specified. |
| 4. | Process the order according to the order details received. You will not be able to print the order directly from PrintStation. |
| 5. | When the job order has been printed you need to change the status to Completed on PrintStation. |
| 1. | You will be asked "Do you want to record how this job was printed so that it is included in the reports?" Click Yes. If you select No you will not be able to change the status of the job,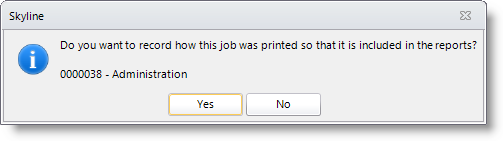 |
| 2. | The Printer information window opens. Enter the details of the printer that was used to print the job order. If the order was not printed but the items were taken from stock select the printer name "Stock Item - Not Printed" When all the details have been entered click Save. |
| 3. | The job order will be moved to the Completed group and the status changed to Completed. |