Installing PrintStation |

|

|

|
|
Installing PrintStation |

|

|

|
|
|
||
PrintStation is a Windows PC application that is normally installed in the print room where the print production occurs. It is a separate application which receives and manages your portals print jobs. When Skyline is upgraded you may need to install PrintStation again.
| From version 7.1.0 you can install PrintStation without having to uninstall the previous version. |
To update PrintStation:
| 1. | Make sure that if there are any previous versions of PrintStation are removed. Use the Add/Remove Programs facility in Control Panel to remove any existing version. |
| 2. | Log in with Management Permissions and go to Downloads. |
| 3. | Click PrintStation. |
| 4. | The Opening PrintStation window opens. Click Save File. The PrintStation installation file is saved to your computer.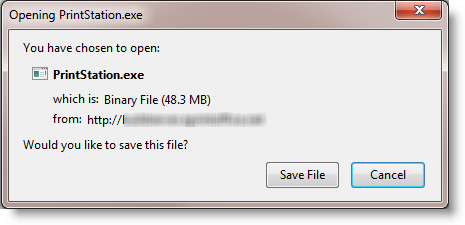 |
| 5. | Click the icon on the toolbar to display the downloads and select PrintStation. |
| 6. | The PrintStation Installation wizard opens. Click Next to continue.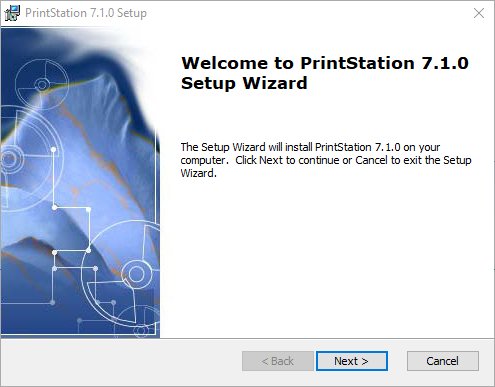 |
| 7. | At the License Agreement window click I accept the license agreement. Click Next to continue.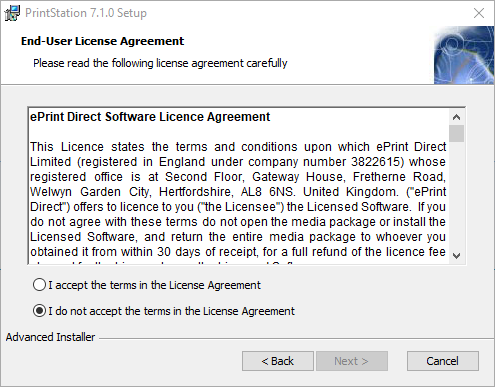 |
| 8. | At the Installation Folder window it is recommended that you accept the default folder location. Click Next to continue.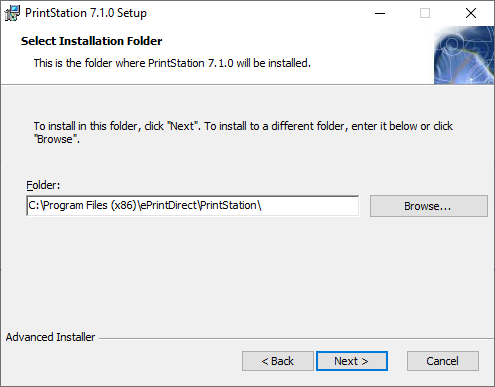 |
| 9. | The PrintStation can now be installed. Click Install to begin the installation.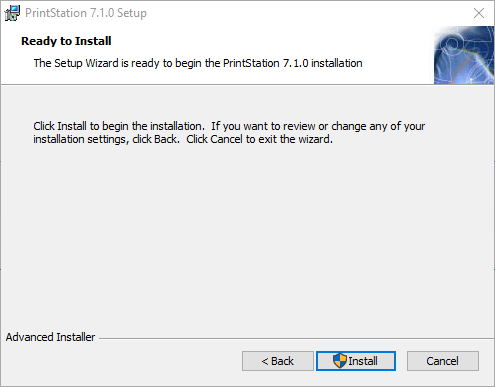 |
| 10. | It should only take a few minutes to install PrintStation. By default the option to start PrintStation is selected. Remove the selection if you do not want PrintStation to automatically start. Click Finish to complete the installation.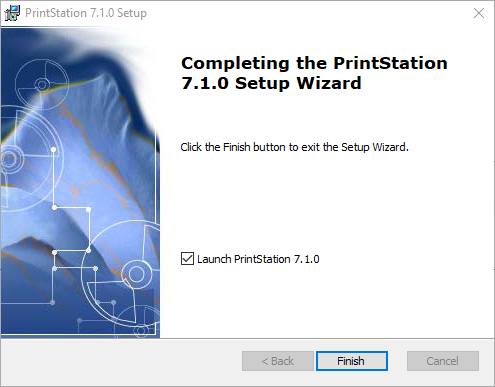 |
When PrintStation opens for the first time you need to add some additional information.
| 1. | When the setup wizard starts click Next.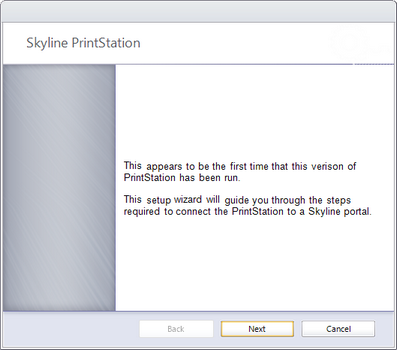 |
| 2. | Details of the portal that PrintStation will use needs to be entered. 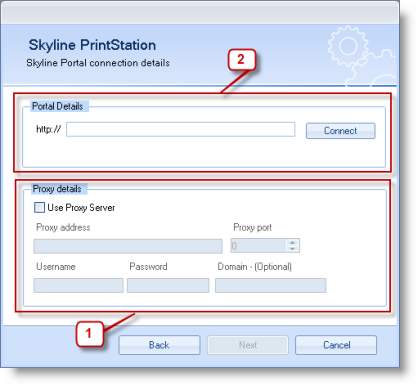 |
| 1. | If your setup uses a proxy server you need to enter the proxy details so that access to the Skyline website is available. If you do not use a proxy server, leave these fields blank. |
| 2. | Enter the HTTP or HTTPS address for Skyline then click Connect to test that the portal details are correct. The program will automatically detect if you are using HTTP or HTTPS connection. If the portal details have been verified the Next button becomes available. Click Next to continue. |
| 3. | The Log In with Microsoft window opens. 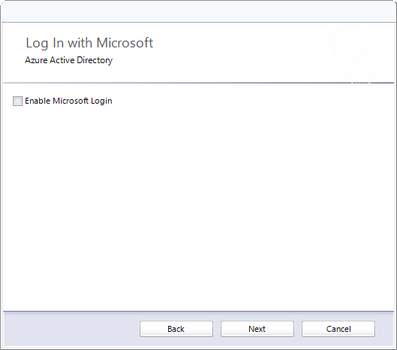 |
| 1. | Select Enable Microsoft Login and click Next if you use Azure Login. OR |
| 2. | If you do not use Azure login click Next. |
| 4. | All the configuration details required for the PrintStation have been entered. Click Finish to exit the configuration.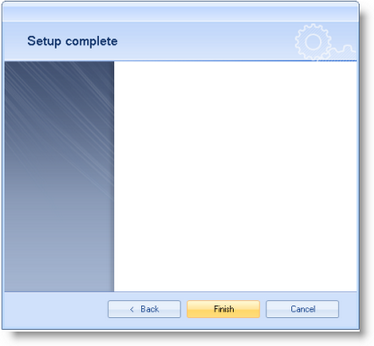 |
| 5. | The Connect to Portal window opens.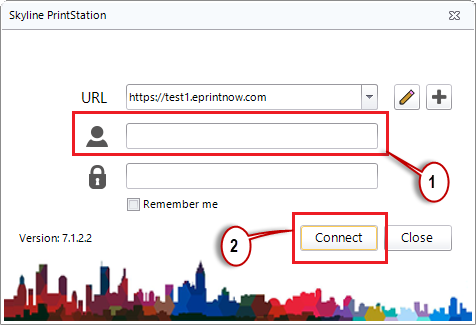 |
| 1. | Enter your Username and Password. This is the same log in that you use to access the Skyline Portal. |
| 2. | Click Connect to start PrintStation. |
| 6. | Select the language that PrintStation should operate in. |
| 1. | Click Languages. Select the required language from the drop down list. |