Adding Users |

|

|

|
|
Adding Users |
|
|

|
Adding Users |
|
|
|
|
Adding Users |
|
|
|
|
|
||
Skyline is set up for Database authentication where User Names and Passwords are stored in the database SkylineMembership. Initially there will be no users on the system. Users can add themselves to this database if the option Registration - Show Register new user is enabled on the log in page or user accounts can be created by a Skyline administrator.
| Notes: |
| • | If users log in using their corporate user name and password (LDAP authentication) they are automatically added the first time that they log in to Skyline. The |
| • | When a user is created the password criteria are not applied so care must be taken that any password supplied do comply with your password rule. When the user changes their password the rules are applied to their entry. |
| • | It is recommended that the portal configuration Registration - New Users Must Be Approved is turned off if you are going to be adding a lot of users. If it is turned on you will have to activate each account after it has been approved. |
When you have created a new user it will be assigned the role of User. You can assign multiple roles to the user if they require access to specific features.
To add users to the current portal:
| 1. | Log in with Administrator rights and go to Admin. |
| 2. | In the Users section click Users. |
| 3. | Click |
| 4. | Enter the user's details in the Register fields. 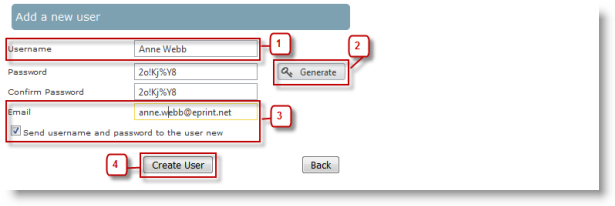 |
| 1. | Enter the user's name. |
| 2. | Click |
| 3. | Enter the user's email address. Tick the option Send username and password to the user new. |
| 4. | Click |
| 5. | You will see the message "Your account has been successfully created". Click Continue to finish the process. An email will be sent to the user if the option was selected.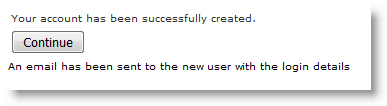 |
| 6. | You can now add another new user or return to the Admin home page. |
The wording of the "Your {portal_name} user account" email can be amended.
To amend the email:
| 1. | Log in with Administrator rights and go to Admin. In the configuration section click System Emails. |
| 2. | The wording in an email sent to a user when a new account is created can be amended. To amend the wording click 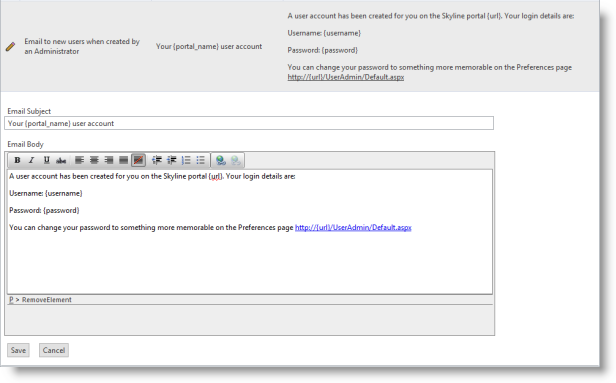 |
When new users have been added they need to be activated. The icon ![]() indicates that the user's account is not active. To make the account active approval has to be granted by removing the selection of Not Approved.
indicates that the user's account is not active. To make the account active approval has to be granted by removing the selection of Not Approved.
To activate a new account:
| 1. | Log in with Administrator rights and go to Admin. |
| 2. | In the Users section click Users. |
| 3. | Load all users that are not approved.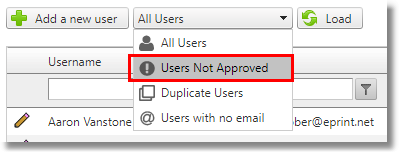 |
| 4. | Click  |
| 5. | Click Update. An email will be sent to the new user stating that their Skyline account has been activated. |
The wording of the email sent to notify new users that their account has been activated can be changed.
To amend the email:
| 1. | Log in with Administrator rights and go to Admin. In the configuration section click system Emails. |
| 2. | To amend the wording click 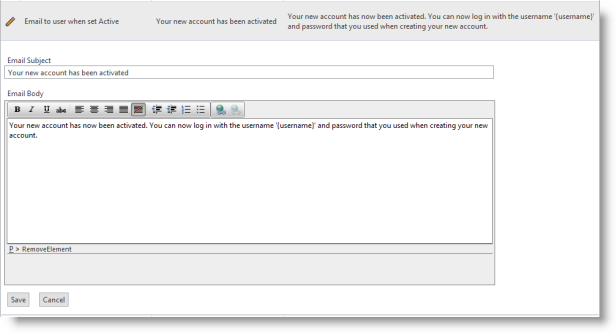 |