Creating an Account |

|

|

|
|
Creating an Account |
|
|

|
Creating an Account |
|
|
|
|
Creating an Account |
|
|
|
|
|
||
You can upload a document to be printed in your print room from any windows program. The first time you do this you will need to create account for the Skyline Cloud Printer. If you will be using your corporate user name and password to log into Skyline Cloud Printer the procedure is slightly different. Please refer to the section on Creating a LDAP Account for more information.
To upload a document & send to your print room:
| 1. | Print the document from your windows program making sure that you select the Skyline Cloud Printer. The name of the printer may not be Skyline Cloud Printer but your administrator will be able to confirm the printer name.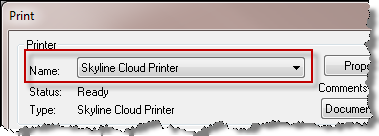 |
| 2. | Your document will be converted into a PDF format and shown in a new window. The name of your document is shown in the title bar.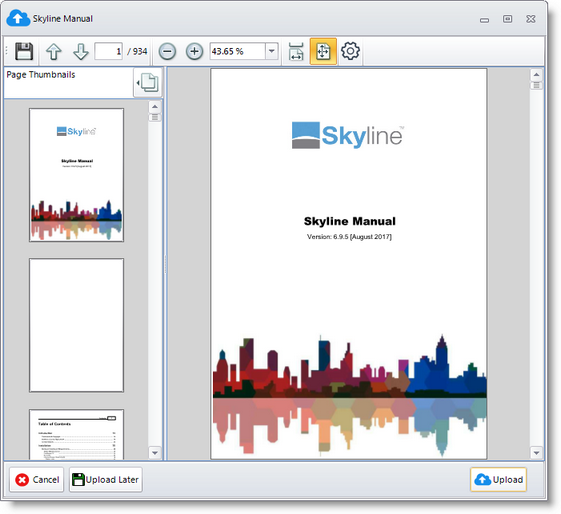 |
| 3. | Click 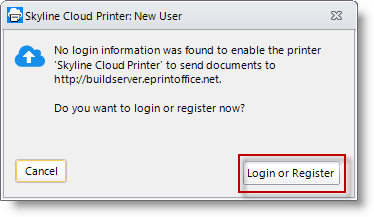 |
| 4. | The New User Registration window opens. |
| 1. | The Skyline Website is automatically entered. Check that the information is correct. |
| 2. | Enter your email address. This needs to be an active address as you will receive notification when your skyline account is activated. |
| 3. | Enter your user name and password for your Skyline account. |
| 4. | Click Register. |
| 5. | You will receive a message stating that your registration was successful. Click OK.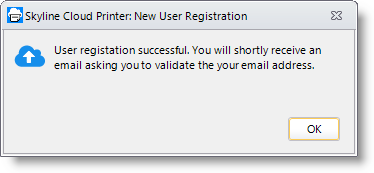 |
| 6. | You will then receive a message stating that your account is not currently active. Click OK.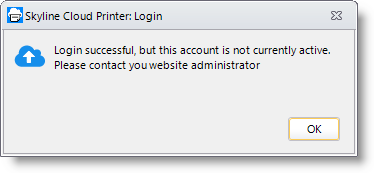 |
| 7. | At the bottom of your Skyline Cloud Printer window there is a message stating 'User not Activated'. You can either leave the window open so that the document can be uploaded or click Upload Later.  |
| 8. | View your emails. There should be an email with the subject Activate your account. Click Activate.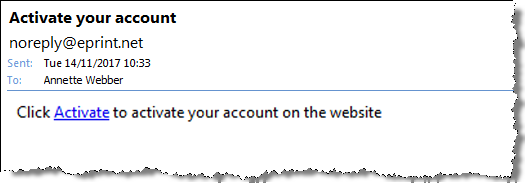 |
| 9. | Your Skyline website opens and you will see a message stating that your account has been activated.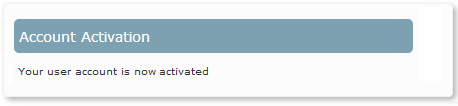 |
| 10. | Return to your Skyline Cloud Printer window and click Upload. |
| 11. | Skyline is automatically opened and your document is shown on the page where you can choose the type of printing that is needed. In this example the Document type Simple was chosen.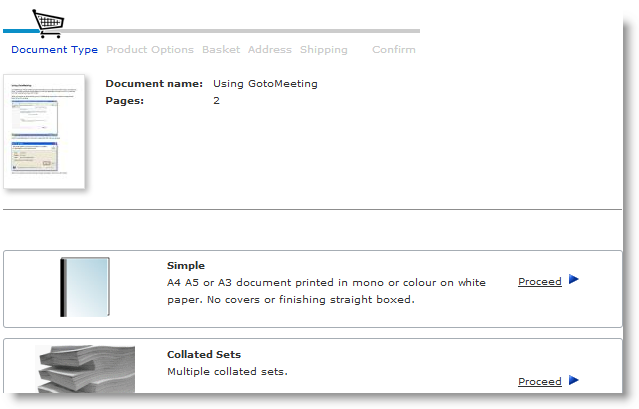 |
| 12. | The media type, printed sides and whether the document needed to be printed in colour or just black and white were selected. Add the number of copies of the document that you want printed and then click OK. 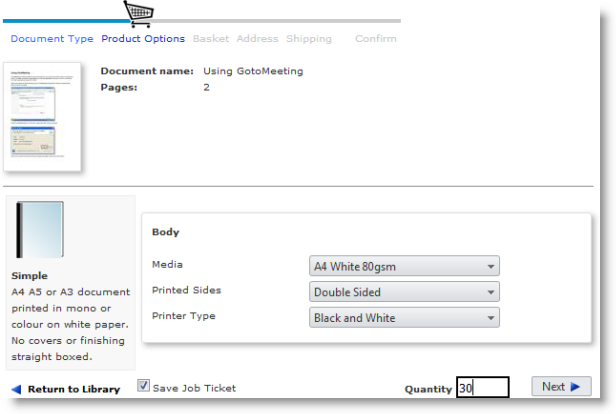 |
| 13. | The costing of the document is shown if applicable. Click Next to continue placing the order.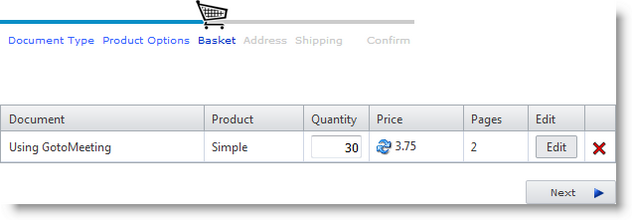 |
| 14. | Enter your address details and then click Next.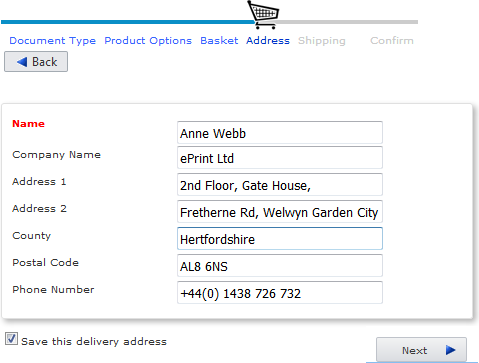 |
| 15. | Enter your delivery requirements and then click Next.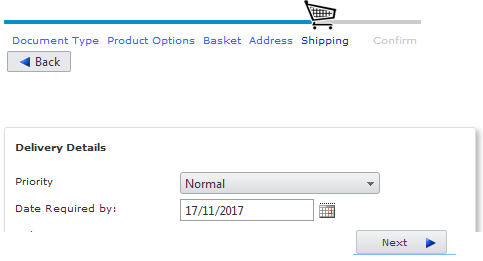 |
| 16. | Review the details and if no changes are needed click confirm Order.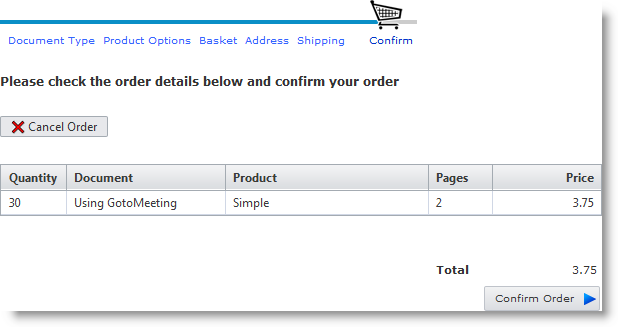 |
| 17. | Your order is placed. If orders need to be approved before they can be processed this information is shown on the Confirmation screen. If your order doesn't need approval then the order is passed straight to the print room to be processed.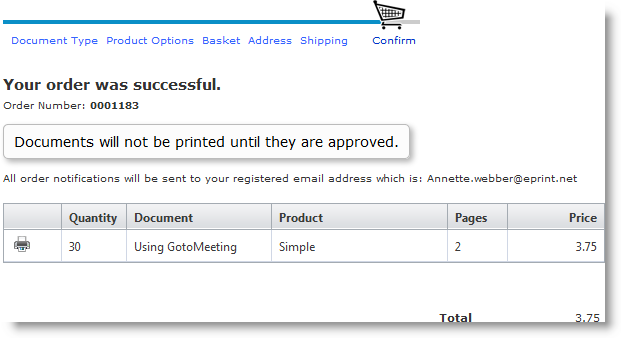 |