Once the printer settings have been entered and made available the Skyline Cloud Printer can be downloaded on any PC that requires Skyline Cloud Printer.
To install Skyline Cloud Printer:
1.
Log in with Management Permissions and go to Downloads.
2.
Click Skyline Cloud Printer.
3.
Save the Zip file and then open the file. You must extract all the files before you proceed with the installation.
4.
Open the folder that you have extracted the files into and double click
5.
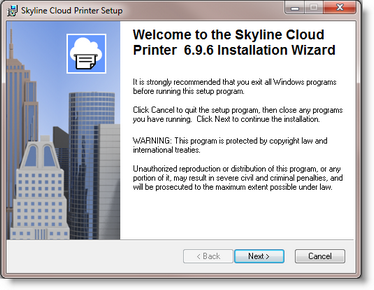
The Skyline Cloud Printer Welcome window opens. Click Next to continue.
6.
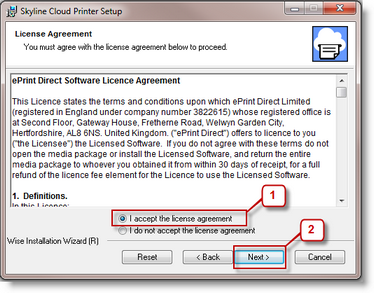
The License Agreement window opens.
1.
Select the option I accept the terms in the license agreement.
2.
Click Next to continue.
7.
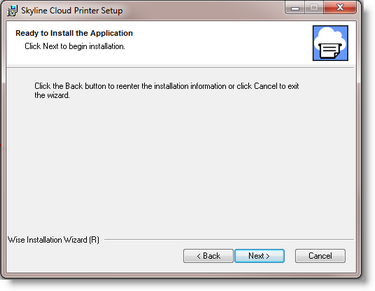
The Ready to Install the Program window opens. Click Next to start the installation.
8.
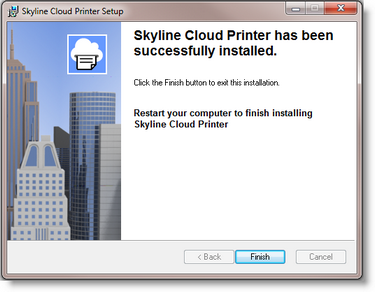
When the installation is complete click Finish to complete the installation.
9.
Restart your computer to complete the installation.