Updating CostManager |

|

|

|
|
Updating CostManager |

|

|

|
|
|
||
After the initial installation of CostManager there may be an occasion that you will need to install the program again e.g. after a computer upgrade.
To update CostManager:
| 1. | Make sure that if there are any previous versions of CostManager are removed. Use the Add/Remove Programs facility in Control Panel to remove any existing version. |
| 2. | Log in with Management Permissions and go to Downloads. |
| 3. | Click CostManager. |
| 4. | When you see the Opening CostManager window, click Save File. The CostManager installation file is saved to your computer. 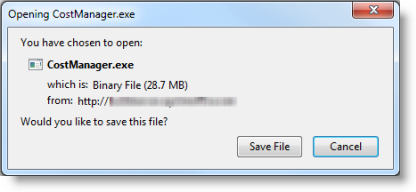 |
| 5. | Click the icon on the toolbar to display the downloads and select CostManager.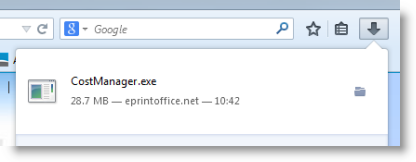 |
| 6. | The CostManager Installation wizard opens. Click Next to continue.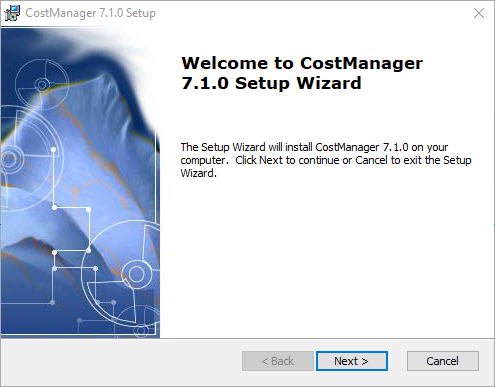 |
| 7. | At the License Agreement window click I accept the license agreement. Click Next to continue.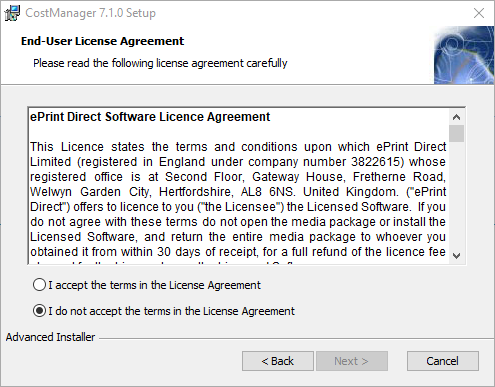 |
| 8. | At the Destination Folder window it is recommended that you accept the default folder location. Click Next to continue.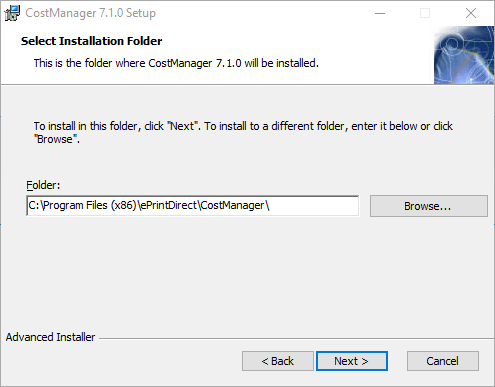 |
| 9. | The CostManager can now be installed. Click Next to begin the installation.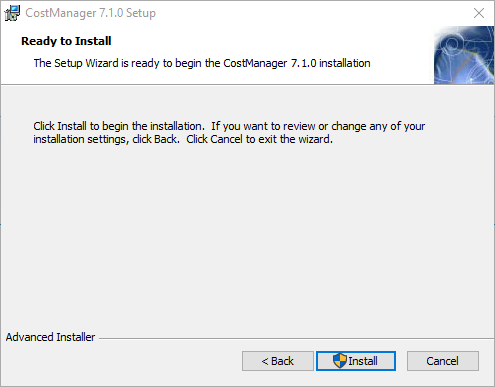 |
| 10. | It should only take a few minutes to install CostManager. When the installation is complete click Finish.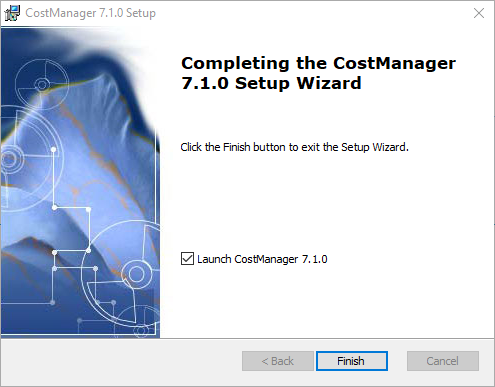 |
When you have completed the installation CostManager will be installed.
To open CostManager for the first time:
| 1. | Click |
| 2. | The first time that CostManager is started after the installation it will take a few seconds for the program to be configured. |
| 3. | When the configuration is complete a log in window opens. 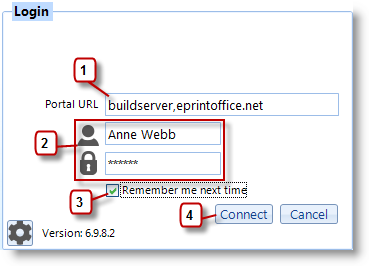 |
| 1. | Enter the name of the portal that you want CostManager to be connected too |
| 2. | Enter your Username & Password. Use the same log in that you use to access the Skyline Portal. |
| 3. | Select the option 'Remember me next time' if you will be regularly using CostManager. |
| 4. | Click Connect. |
When you have successfully logged in you will see the CostManager window