Creating Address Forms |

|

|

|
|
Creating Address Forms |
|
|

|
Creating Address Forms |
|
|
|
|
Creating Address Forms |
|
|
|
|
|
||
Skyline is delivered with a default address form which can be amended to fit your requirements. You can only have one address form associated with a portal. However, if you have several portals, you can design a specific address form to be associated with each portal.
| Note: If an address form has not been associated with the portal an error message will show when you try to place an order. 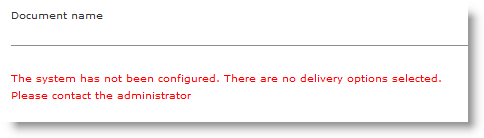 |
To create a new address form:
| 1. | Select Address > New Address Form from the menu bar. |
| 2. | Enter a name for the new address form and brief description.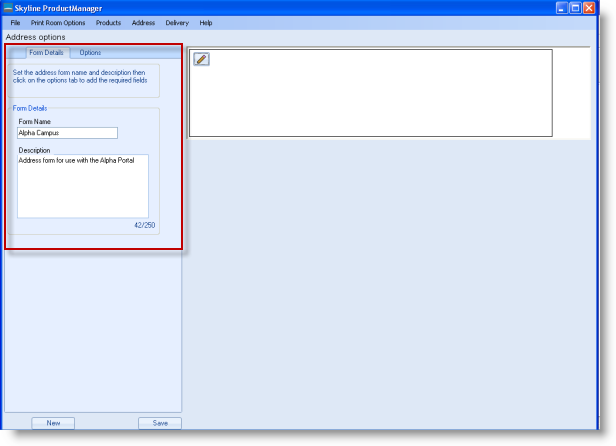 |
| 3. | Click the Options tab. Drag and drop the required fields into the blank panel. Some of the address form options will give the user a drop down list of choices for them to select from, as shown in the example. Select the options that you want to include in the form field & click Save.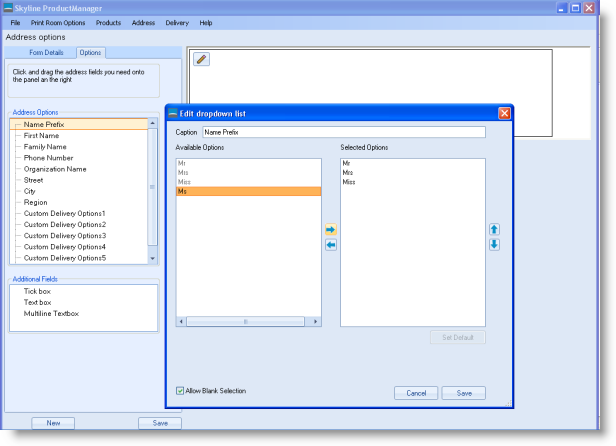 |
| • | When you have added all your required address fields you can use the following buttons to make any fields compulsory or make other amendments. |
| • | If there is no choice that the end user has to make, the option can be made invisible. To make an option invisible click |
| • | If you want to make completion of the field compulsory click  |
| • | Use |
| • | Use |
| • | Use |
| 4. | Click Save to save your new address form. |