Adding Pre-defined Documents |

|

|

|
|
Adding Pre-defined Documents |
|
|

|
Adding Pre-defined Documents |
|
|
|
|
Adding Pre-defined Documents |
|
|
|
|
|
||
When a shared library has been created documents can be added with a pre-defined product options so that users can just order the number of documents required.
To add documents with a pre-defined product:
| 1. | Open your Library and select the documents to be added. |
| 2. | Click |
| 3. | View the library that you moved the documents into. |
| 4. | (Optional) The documents can be renamed and a brief description added. |
| 1. | Change the view to "Catalog View". |
| 2. | Click |
| 3. | Amend the document name and add a description of the document. When finished click Save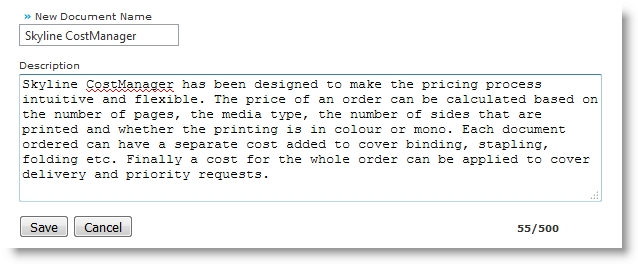 |
| 4. | The updated details are shown in Catalog View |
| 5. | The job ticket for the document needs to be defined. |
| 1. | Click |
| 2. | Click Proceed associated with the product that is used to produce the document.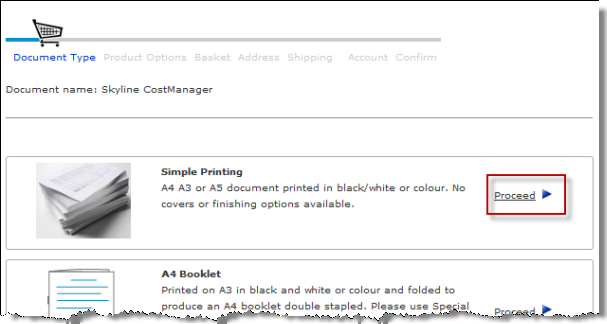 |
| 3. | Complete any product options that are required then click Next. |
| 4. | When you view the Basket page where the quantity of documents to be ordered is entered, click the Libraries web page.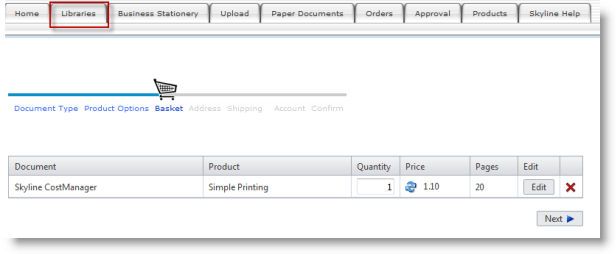 |
| 6. | You need to check that the document defined job ticket is available to the users. |
| 1. | Log into Skyline as a user with access to the shared library. |
| 2. | View the library. The basket associated with the amended document will be green.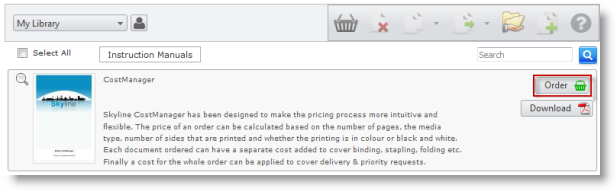 |
| 3. | Click 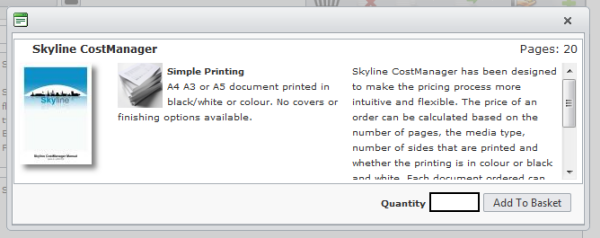 |