LDAP - ProductManager Access |

|

|

|
|
LDAP - ProductManager Access |

|

|

|
|
|
||
User's will only be able to use their LDAP log in with Skyline Website and PrintStation. Details on how to configure Localhost and then log in to ProductManager is described below.
To configure Localhost so that a user can log in to ProductManager:
| 1. | At the Skyline Server enter Localhost in the browser address bar. |
| 2. | The Skyline log in screen opens. Log in with host rights and go to Admin. |
| 3. | In the Portals section click Portals |
| 4. | Identify the Portal that is associated with the name localhost. In the example below the portal name is Skyline. |
| 5. | The machine name and/or the IP address details need to be added to the portal. Either the machine name or IP address will be used when logging into the ProductManager. |
| 1. | Click the Portals URLs link. |
| 6. | Enter the machine name and/or the portal address.  |
| 1. | Click Add to enter the machine name or portal URL to the list. |
| 2. | When the details have been entered they are listed. Click Back to return to the list of portals. |
| 7. | The machine name and/or the IP address details have been added to the portal. |
| 8. | Users can now log into ProductManager using either the localhost machine name or IP address from their own computer. |
To open ProductManager:
| 1. | Click |
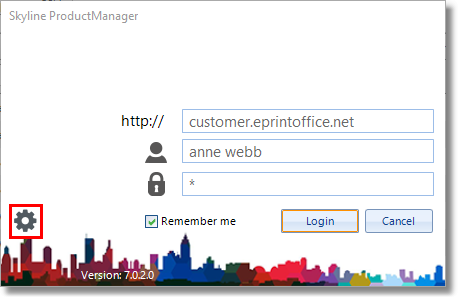
| 2. | The Skyline ProductManager automatically opens with a log in screen. Click  |
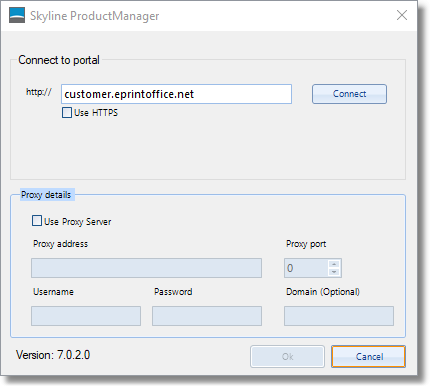
| 3. | The connection details window opens. Enter the localhost machine name or IP address and click Connect |
| 4. | Enter the user name SkylineHost and password SkylineH0$t, then click Log in. |
| 5. | The ProductManager opens. |
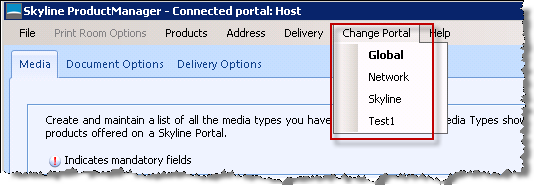
| 1. | Click Change Portal and select the portal that you want to administer. |
| 6. | Make sure that the correct portal name is shown in the title bar before you start to amend the products. |