2. Installing Neevia DCPro |

|

|

|
|
2. Installing Neevia DCPro |
|
|

|
2. Installing Neevia DCPro |
|
|
|
|
2. Installing Neevia DCPro |
|
|
|
|
|
||
Before you begin the Neevia installation make sure that you have the product registration information available.
To install Neevia DCPro:
| 1. | Browse to http://download.eprint.net/Installation/Skyline/ and download the file 3-Neevia Document Converter.zip. |
| 2. | Unzip the Neevia dcpro 6.8 file. Right mouse click the file and open the file Properties. If the Security setting states "This file came from another computer and might be blocked to help protect this computer", click Unblock.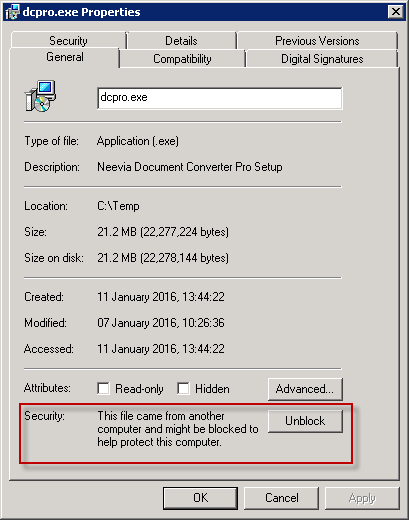 |
| 3. | Double click |
| a) | The License Agreement window opens. Select I accept the agreement then click Next to continue.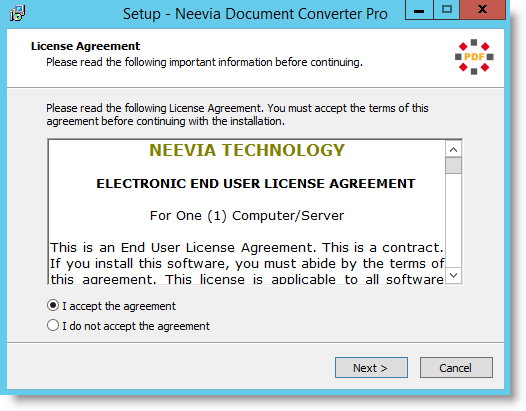 |
| b) | The Destination Location window opens. Click Next to continue.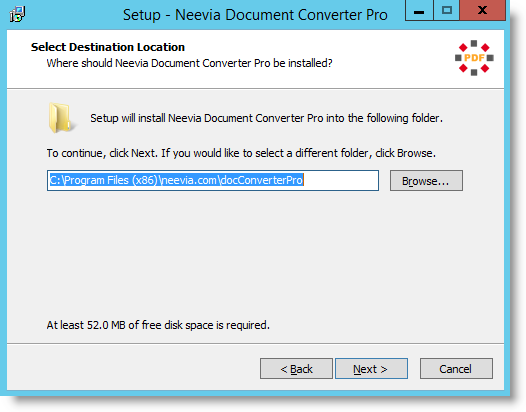 |
| c) | The Start Menu Folder window opens. Click Next to continue.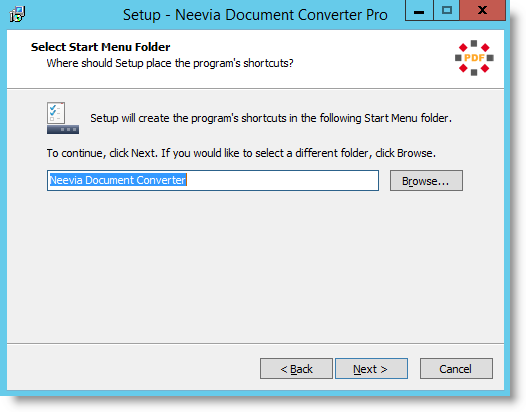 |
| d) | The Icons window opens. Click Next to continue.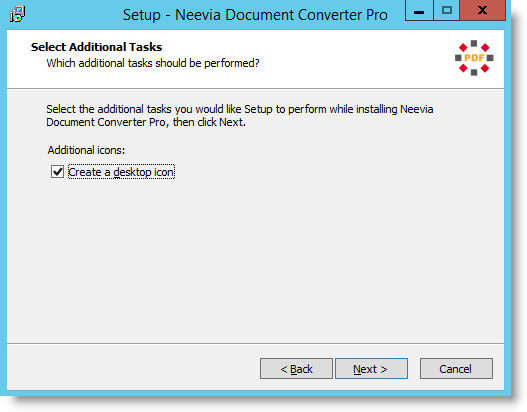 |
| e) | The summary window opens. Click Install to continue.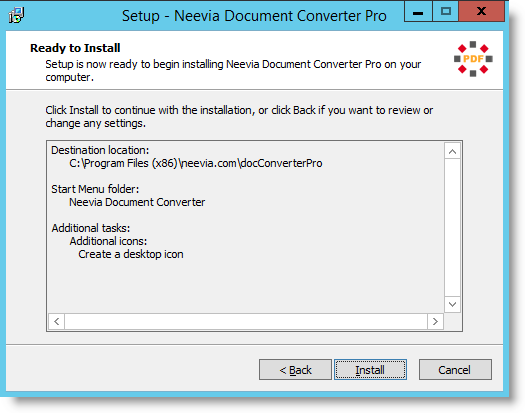 |
| f) | The Product Registration window opens. Select Enter registration info and enter the registration details that ePrint supplied. Click Next to continue.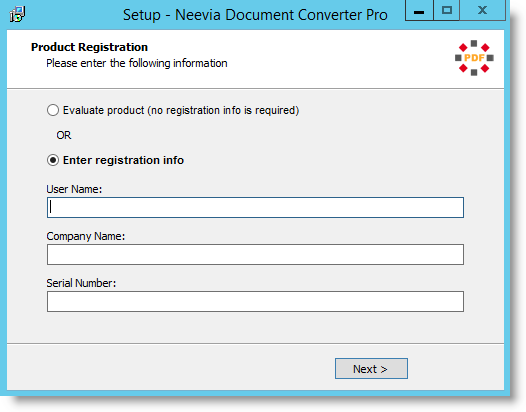 |
| g) | The program is installed. When the installation has been completed the window opens where you can click Finish to exit the installation.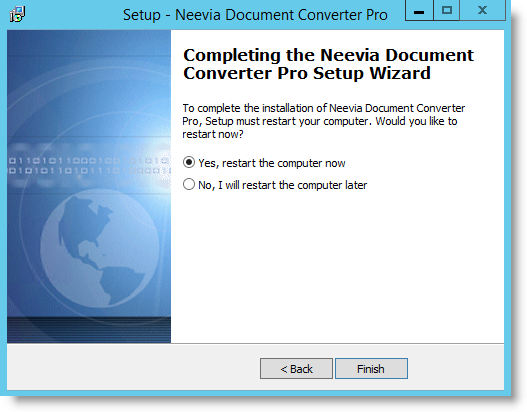 |
| 3. | Check that a program called Image Pack is listed. 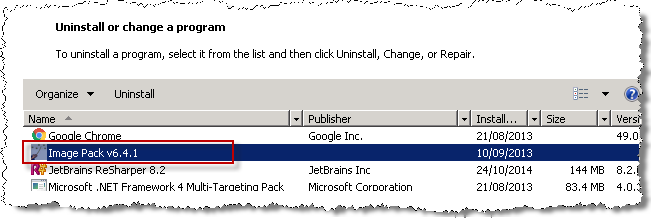 If the program is missing you will need to install it. |
| 1. | Browse to http://download.eprint.net/Installation/Skyline/ and download the file 4-Neevia Image Pack.zip. |
| 2. | Unzip the file. Right mouse click the file and open the file Properties. If the Security setting states "This file came from another computer and might be blocked to help protect this computer", click Unblock. |
| 3. | Double click |
| 4. | Open |
| a) | The Advanced Settings window opens. Select Launch as Windows Service and then click Configure.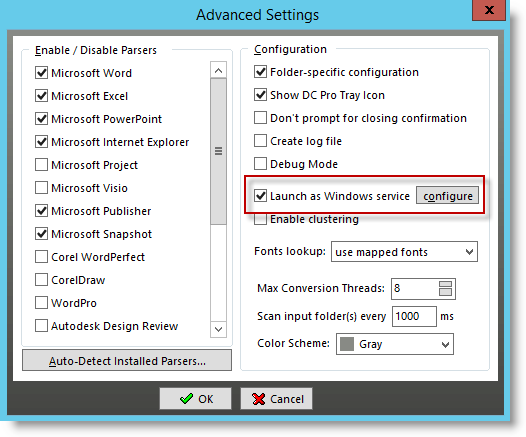 |
| b) | The Configure Windows Service window opens.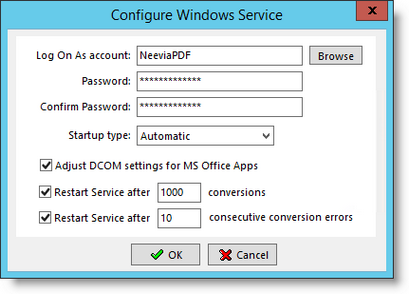 |
| 1. | Click Browse and select NeeviaPDF. |
| 2. | Enter the password & confirm the password for the NeeviaPDF account which should be Rem0tePr1nter. |
| 3. | Make sure that the following options are selected then click OK to save the information. |
| • | Adjust DCOM settings for MS Office Apps. |
| • | Restart Service after 1000 conversions. |
| • | Restart Service after 10 consecutive conversion errors. |
| c) | Close the Neevia Converter. |
| d) | Open 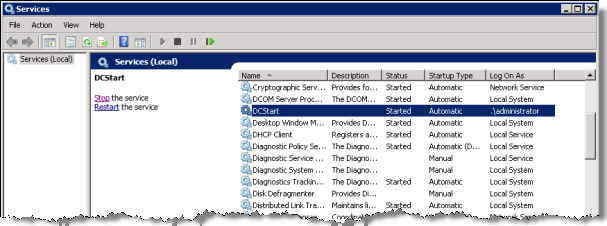 |